I just got 2 new molds and I asked on Instagram which one you guys would prefer to see in a tutorial. I should have known that most of you would say both. LOL. I’ve decided to do both but I started with the rose mold first.

The Rosette Mold comes from a very popular design that creates beautiful roses by using stripes of fondant that are ruffled, and then placed strategically on the cake forming roses. This technique reminds me of the lace fabric I used to work with years ago when I designed clothing. Even though the design is so beautiful, you can expect long amounts of hours working on this design. It’s very time consuming.
I always love anything that shortens the length of work time when I am working on a cake. Not only can the customer save some money but I save time and earn more money too, so for me this is a win win. Now I can give the customer an option and if they want the original design, then they know they have to pay more for the work it involves, or just simply save some money and labor by using this shortcut.
I decided to see how the mold looks in a 2 tier cake and this is the finish product. 
I finished the cake with some of my favorite flowers gumpaste Orchids and Roses with some filler flowers and tropical leaves. I have a tutorial on Orchids posted in the website already but soon I will be adding a section with advanced tutorials that you can access anytime and will include more flowers, plus I plan to add more tutorials to it.
And here is a close up of the pattern for the Rosette Mold.

I will do another tutorial as soon as I can using the other mold I got. In the meantime I hope you enjoy this tutorial. I am posting the links to the products below for those of you who ask.
You can click here to watch the tutorial!
You can see it in You tube if you prefer. Here’s the link. Don’t forget to Subscribe to my channel!
Until next time.. ta ta!
Edna 🙂


 Frame Mold
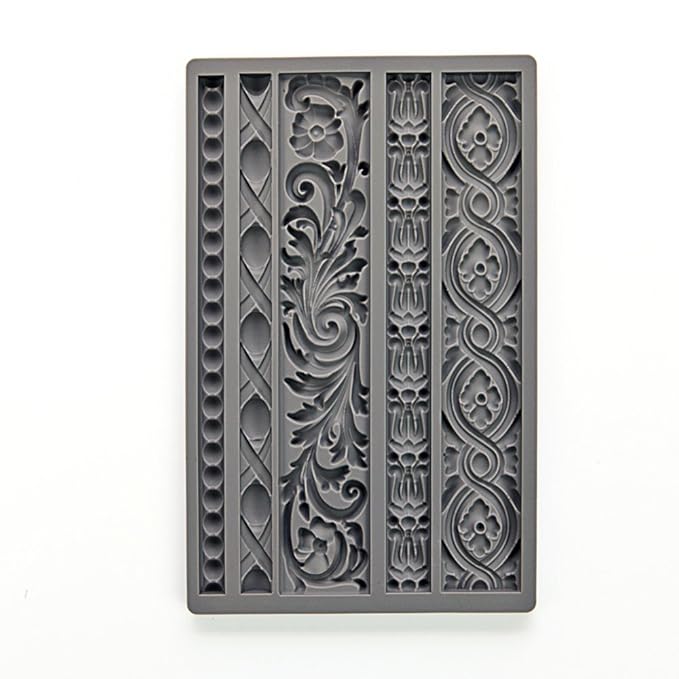 Vintage Art Decor
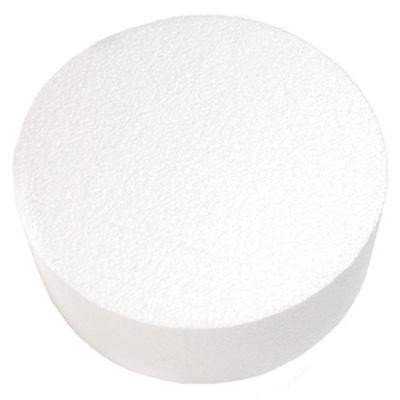 Cake Dummy
 Gumpaste Flowers