
 I finally did the tutorial for my White Chocolate Fondant. I love this recipe. The chocolate added to it makes the fondant pliable without being too soft. Since white chocolate has a light flavor, you can still add your own flavoring to this recipe plus you can make the fondant at the consistency you like.
In the tutorial I give all the information you need to make the fondant. Without the chocolate, the recipe still gives you a basic fondant. But adding the chocolate makes it so much better. One thing I do want to make clear. Not all chocolates are the same, so having a good quality chocolate makes a big difference. I use White Chocolate Melts from Guittard. These are a compound coating but is one of the best out there. It’s really delicious and melts like a dream. It’s important to use a good quality chocolate that is made for melting or if you use a compound coating, it should be of good quality too.
 I don’t recommend using chocolate chips since they are made for high temperatures and won’t start melting until they have reach 350 degrees. Plus the wax they are coated with doesn’t really make for the best melted chocolate. But I am sure some people will try them. Other good quality chocolates brands are Valrhona and Callebaut. I am sure there are other great quality chocolate companies out there that I haven’t used but I have used Guittard and love the product so I will stick to using it.
Since I know there are followers from almost everywhere in the world, I won’t be able to test all the chocolates or melts out there to know the outcome of each of them. I did go to the supermarket and bought a few brands available there. They might not be the best out there but they are the most accessible to everyone.

Baker’s Premium White Chocolate is a very common baking brand chocolate found easily in most supermarkets. Taste wise it’s less tasty than the Guittard melts. But I was able to use it in the recipe. I found out that for this one I had to reduce the Glycerine to 1 tablespoon, use 1 Tablespoon of Tylose instead of a teaspoon and I had to use more sugar. to get the consistency I like. Overall, it works well if you adjust the ingredients.

The Ghirardelli Premium Bar for baking worked well. I did the same exchange of ingredients as Baker’s and I got a pretty good outcome. This one also used a bit more sugar too than what I normally use with Guittard. But just like Baker’s, the recipe turned out well.
My next test was Ghirardelli Candy Making for Dipping.
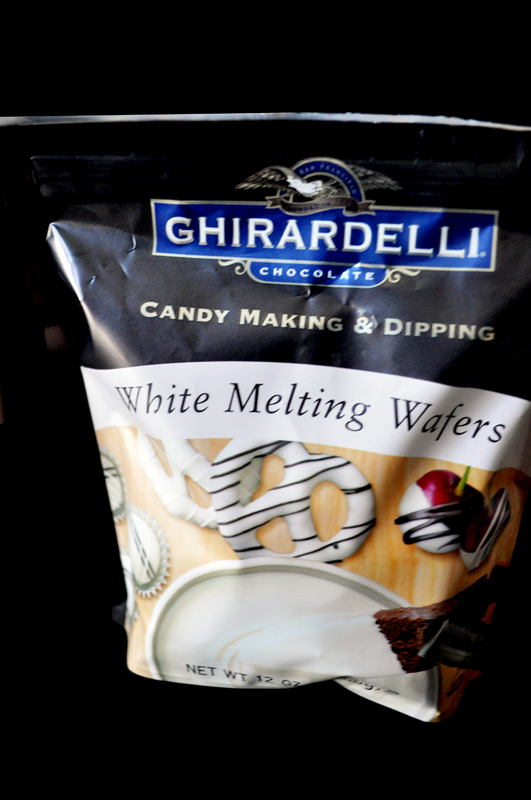
These wafers do taste really good in comparison to the bars from Baker’s and Ghirardelli. I did stick to using less glycerine and more tylose with them and the fondant works pretty good too. From the supermarket brands, this one was my top favorite.
Next, I decided to test Wilton Candy Melt, these are a compound coating too ].
I did want to test them because they are easily found in crafts centers in the Wilton section. I tested these before the other chocolate brands from the supermarkets.
 My first try was a complete fail. The fondant felt grainy and was not elastic. I was not happy about the outcome. That’s when I decided to lower the Glycerine and add more tylose to the recipe. The second batch worked well with the changes and that’s when I decided to do the same with all the supermarket brands.
My suggestions are:
*Try to use a good quality chocolate or a good quality compound coating melt, it does make a difference. Use a scale to measure it.
*Make sure to melt the chocolate at a low heat or if you use the microwave, do it slowly. Melting the chocolate too fast can damage the chocolate, making it grainy and lumpy. If you use the stove, use a double boiler and make sure the water doesn’t get to the chocolate or it can seize. I will do another blog and talk more about this subject. Let’s go back to fondant talk!
The recipe I am giving you works great. I will add though, that athmospheric conditions might make a difference on the outcome. If you feel a grainy fondant, make the next batch with just one tablespoon of glycerine. If your fondant is too soft you can use up to 1 tablespoon of Tylose.
I know I will get a million questions about Tylose. Most of them will say, “I can’t find it  where I live”. I haven’t tested the recipe with other products. I don’t like Gum Tex (personal opinion), and I haven’t tested it with other gum ingredients like gum tragacanth or CMC. I love my Tylose and I will honestly say, order some from the internet. It’s totally worth it! If you decide to try other gums, let me know the outcome. But remember, the recipe is made for tylose so if there’s a fail, you might have to adapt the amount you add.
Other things to watch out will be
* Don’t overheat the Corn Syrup. You want it warm, not hot.
* Make sure the gelatin blooms properly. Sprinkle the gelatin evenly
over the water.
* Don’t overheat the gelatin. You want the gelatin to dissolve and look clear.
* Make sure that when you start, you are gonna finish what you started. Fondant
won’t wait. It will dry out and be a complete mess if you leave in the middle of
making it.
* Work fast, the less air the less the fondant will dry
* Vegetable Shortening will help you with the kneading. If your fondant feels dry,
apply the shortening like it’s hand cream and continue kneading.
* If you have a fail, try again. Maybe you need to get a better ingredient or make
sure you are following the recipe. If humidity is not helping, make sure to lower the glycerine. It’s best to work in a room with air conditioner and if you have
huge humidity issues, then get yourself a dehumidifier. Sugar and heat don’t
mix so try to make your environment proper to work with sugar. You will have
a harder time with your work if it’s too hot.
* You will fail if you stop trying. So if you fail one time, try again and again.
I promise that it’s easy but you got to learn the process and what works
best in your environment.
* A scraper is great to use when you start kneading.

I did the fondant in the video manually so everyone could see how it can be done, but you can easily make this using a kitchen Aid. If you don’t like the microwave, use a double boiler. Everything is adaptable.
Once you make your fondant, make sure you seal it well in cling plastic and then place it in a ziploc bag. It will last just like any pre-bought fondant as long as it’s sealed well. If it gets hard after a few days, place it in the microwave for 10 seconds. I do that with all my fondants to soften them. It’s easier on the hands!
For the full recipe tutorial and tips for White Chocolate Fondant, click here.
I hope you enjoy the full Recipe (click here), and feel free to send anybody to my website so they can try it.
Until next blog….ta ta!
Edna 🙂

I guess my concern would be the consumption of the tylose powder. I know its edible but what if someone ate 3 slices of cake?
It’s edible, and is just one tablespoon for the whole recipe.
for that recipe, how big of a cake will it cover
I think it comes to around 3 pounds of fondant. Easily can cover an 8 and a 4 but it really will change depending on how thick the person rolls the fondant.
Thank you Edna! You are awesome for sharing your recipes and tutorials!
It’s my pleasure!
Hello, Edna ~
Thank you, for sharing your recipes and techniques. You are SO talented!
I know that this is an old thread, but I am hoping this finds you! I absolutely LOVE working with your white chocolate fondant recipe. It is my go to! I have to do brown fondant and was wondering if you have ever used a bittersweet chocolate instead of white for this recipe? I know that the cocoa butter content is different, so am not sure how it will effect the end result. Have you ever tried?
Thank you!!!
Annie Sullivan