I love the taste of caramel. When I was growing up, I loved sweets. But chewy caramel that sticks in your teeth is not something I enjoy as much now that I am an adult. So let me introduce you to the next best thing. Soft and delicious salted caramel. Here is the link to the recipe, it will be posted in my website.
Salted Caramel Recipe, click here!
This trend is already few years old, and many “food experts” might complain about how tired they are of this trend and how they think it’s overplayed. But let’s face it, why should we stop enjoying this just because people are tired of hearing about it? If you are a true caramel lover, you will eat this, drink this and if you could find a way, bathe in it! lol
From ice cream, to coffee, drinks, cookies and all sorts of food, the salted caramel is not going anywhere. Caramel and cake is a match made in heaven. It’s great with a vanilla butter cake, but if you love turtle chocolate, then you can imagine how delicious this will be inside a chocolate cake as a filling, combined with toasted pecans. A very decadent treat for chocolate lovers.
Some people will tell you that making caramel is difficult, but I think that like anything else, all you need is a good recipe, good tips and a bit of practice. Yeah, you might fail at trying, but trust me, it’s the only way to learn. To be quite honest my first try was a complete success. It was my second try that failed. But I learned from it.
So let me see if I can make this easy for you, guys. Eventually I will try to do a video tutorial, but in the meantime, writing this blog will have to do.
For making Caramel you will first need a good metal pot. Stainless steel works well. It’s not suggested to use non-stick pans due to them being just lined with just a thin coat of the non-stick material and the experts say that the heat might break that thin coating and it can get into the caramel. I have a pan that’s made completely of a non stick material and seems to do great to make caramel, which makes me wonder if that’s okay to use because I’ve already used it! lol These days I stick with the stainless steel pot just to be safe.
Once you have your pot, you want to make sure that you use a spatula that can withstand heat. Metal is no good because it can create crystals, and wood is not good either due to the high heat that is created by the sugar. I use a silicone spatula that I love and can take the heat. Make sure the pot you have is tall. Once sugar is hot and you add the other ingredients, the mixture will boil high and the last thing you want is sugar all over your stove, or worst, a sugar burn. Be careful, sugar is one of the worst burns ever. Have some cold water around for just in case. Oh, and a little trick, vanilla is the best medicine for a burn. It will heal it better than anything else. Promise.
First place the water in the pan. Then you can add the sugar. Some people will say that you can put the sugar alone with no water, and yes, they are right. But the water actually serves a purpose. It will make sure that the sugar will cook evenly. To avoid crystallization, you can add 1 tablespoon of clear corn syrup and 1/4 teaspoon of cream of tartar. But if you don’t have the cream of tartar, don’t worry, it will work without it. If you don’t have the corn syrup then you have to be extra careful so your sugar doesn’t crystallize. You want to mix all these ingredients and you want to turn your stove to high heat. Don’t ever leave it unattended. As soon as it starts boiling you want to bring the heat down to a medium or medium high heat. This will depend on your stove. But I have pictures so you can see what you are looking for when you are working with the sugar.
Some people recommend covering the pot with a lid for 2 to 3 minutes until the sugar dissolves. The lid creates condensation that drips inside the wall of the pan making sure that no crystals are created. I do this and it works for me. But keep in mind that this is just at the very beginning. If you keep that lid all the time, it won’t let the sugar reach a higher temperature, something that it needs to do to create the caramel. Other people like to brush the sides of the pan to get rid of the crystals. If you rather use the brush, then go for it. It’s a matter of preference. Personally I place the lid until the sugar is dissolved.
I stir lightly the sugar to make sure everything is dissolved completely. But don’t do this for too long and don’t stir like crazy. All you want is to make sure that the areas where the pot gets less heat are dissolved. This brings me to another point that I have to mention. Make sure the pot you use gets even heat from your stove.
 You can see above the sugar is melted already and the center of the pot is boiling more than the outsides. I take my spatula and kind of push the outside ring towards the center very gently to make sure all the sugar is dissolved and the heat spread everywhere. Be very gently with the stirring. Too much will create crystals. Some people say to leave it alone but for me mixing it here and there very gently does a better job. So you might have to try to see what works for you best.
 In the photo above you can see the sugar is bubbling evenly. I don’t use the thermometer when I make this recipe, because the color of the sugar will be very obvious. But for those who prefer the reassuring presence of a thermometer, I added not one but 2 thermometers and I will explain why in a bit.

You can see in the photo above that the sugar is starting to turn yellowish. We need the sugar to get to a golden amber reddish color. To get to that stage it will take a bit of time.
I suggest you don’t leave this alone at any point. You can lightly stir the mix to make sure it’s heating evenly. In here you can see the 2 thermometers.

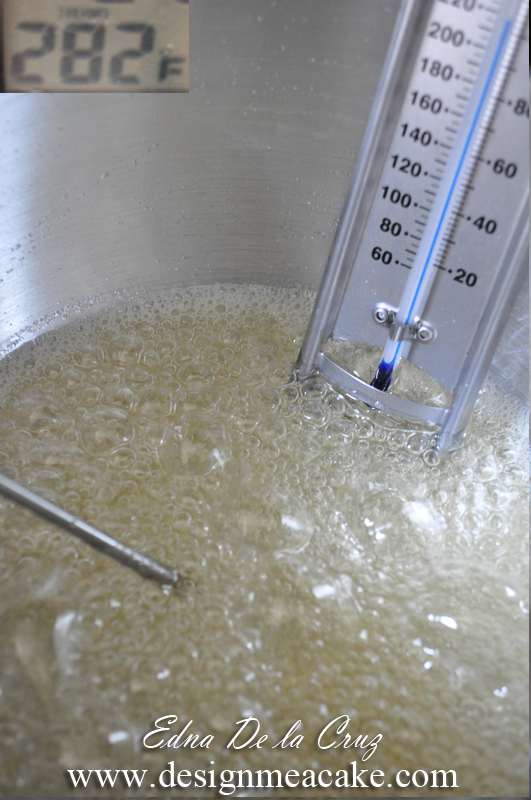
In the next photo I place on the top right side, the reading of my digital thermometer. You can see that the sugar is turning more yellowish. Stay close because once it turns amber it can go from amber to red to burn in the blink of an eye. One thing I can say is, burnt caramel has no fix. The only one that gets to enjoy that taste is the trash can. So please, stick close to your sugar.
Now, if you look at the candy thermometer, it’s reading 220 F. But my digital one is reading 282 F. I love my digital thermometer. It’s very accurate. The other one works well but if it doesn’t reach the mixture then it won’t give an accurate reading. If you notice in the photo, it doesn’t reach the sugar properly. So this is my biggest issue with this type of thermometer. If you are making smaller amounts, it won’t reach the mix. So I usually stick with my digital one. Never fails me!
While the sugar is getting to the right stage, I make sure I have the rest of the ingredients ready to go. I put my heavy cream in a measuring cup and add the vanilla and the salt to it, mixing it well. Then I get 3 tablespoons of salted butter.

Now we are seeing a beautiful golden color. See how beautiful this looks, bubbles heating evenly through the pan. You can lightly stir if you want. LIGHTLY!

Here we begin to get that beautiful golden amber color. 320 degrees F. It’s almost there and will get darker in matter of seconds. Have everything ready to throw into the pot. Stir lightly to make sure the color is even.
 Now, here we go. This is the beautiful golden reddish amber that we want. It’s time to put the rest of the ingredients in. Take the pot out of the heat. Notice how much space I have between the sugar and the top rim of the pot??

Watch how high it boils after I place the butter and the heavy cream in it. You can see the line where it went to. Check the metal dot and see the distance of the mixture in this photo and compare it to the photo before. So please..use a tall pan. I don’t want people getting burned.
Once I add the butter, I use a whisk to stir the mix. And while mixing it I add the heavy cream and keep stirring. Then I place the pot back on the heat and mix it there for a minute or so more. Just make sure the ingredients are mixed and the butter is melted.Then take it out of the heat.

Once you take the pot out of the hot stove stir a bit more and you will get to see this beautiful caramel color emerge. Don’t be fooled by how watery this mix is. Once this cools it will be a lot creamy.

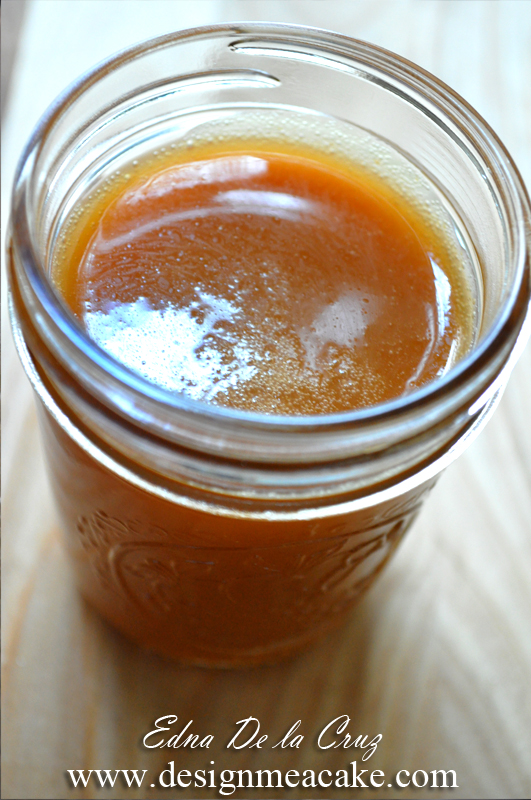
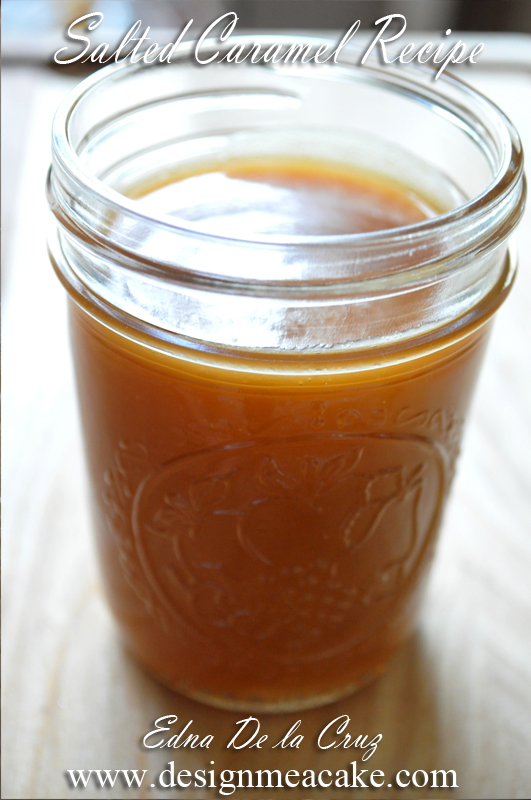
I place the caramel in a Mason Jar since it’s meant for hot mixes. Be very careful pouring.
This is very hot so take precautions. The jar will get hot too. You will get around 14 oz of Caramel from this recipe. I haven’t measured the exact amount, so forgive me for that. lol
 So now that you are done with the caramel and it’s cooling down, how do we clean this mess? Well, the easiest way to clean anything with hot sugar is to add water to the pan and boil the water. It will dissolve the sugar. And it’s very important to clean the sugar because any left on the pan can mess your next batch of caramel. So make sure it’s completely free of sugar.
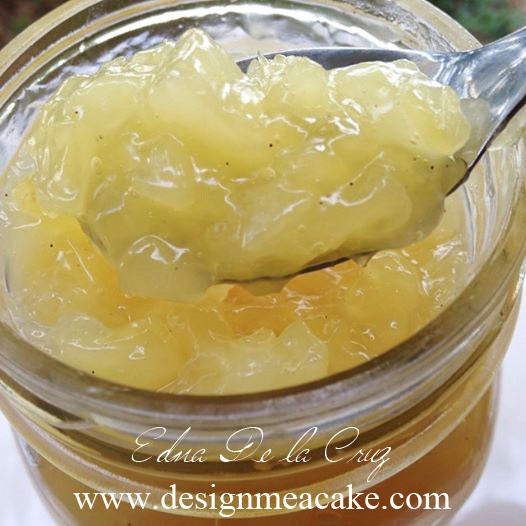
 Now that you’re done and cleaned up. You can enjoy your delicious caramel. You can use this hot or just let it cool down. Store it in the fridge. Once you store it in the fridge your caramel will harden. You have many options now.
*If you want the caramel softer, you can heat it. I place mine in the microwave for 15 to 30 seconds, depending how thick or thin I want it. You can heat more if you want.
*If you want it thicker, add less heavy cream.
*If you want it more like syrup, take it to the pan again and add more heavy cream to it. *For cake filling, you want it creamy, not too soft or it will be a mess in your cake. It it’s too stiff to spread you can lightly heat it so it’s more easy to spread but don’t add heavy cream or it will make it too soft.
I hope you enjoy this tutorial. Now, keep in mind that you might fail and get crystallized sugar the first time you make it. But read again all the tips and try again. Once you learn to make it, you will never forget. At the end of the day it’s just sugar!. You got to be the boss. 😉
Here is the link to the recipe. It will be posted in my website along with my other recipes.
Click here for Salted Caramel Recipe.
Until next time..ta ta!
Edna 😉