Whipped cream is a great addition to any dessert and even though I am allergic to dairy, once in a blue moon I choose to suffer the consequences just to be able to eat some. I figure the swollen eyes and headache are just temporary and since I don’t eat it all the time I can handle the temporary pain. Lol
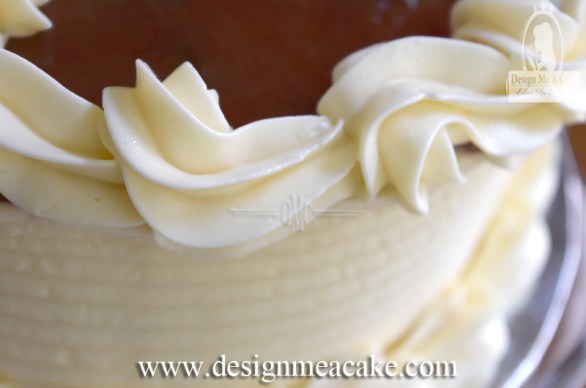
One of the problems you will find with whipped cream is that it’s not stable. You can use it at the time you make it but it won’t stay fluffy for long. It starts melting. With Stabilized Whipped Cream you can cover a cake and use for piping on the cake or desserts.


There are a few ways to stabilize it. Some people use cornstarch for a quick fix. I am not a big fan of the taste but the others options used also run along the cornstarch idea. These other options include Powder Milk and Powder Pudding Mix. All of these contain cornstarch. Even if you use just confectioners sugar, you will find that there is cornstarch in it. For me the most stable one is the gelatin recipe, but as you know, I am all about giving you guys all the info.
Making whipped cream is not really difficult, but I do hear people that encounter problems like lumps, whipped cream that’s too runny and other issues. I’ll try to offer some tips that might help, but if you have a fail, just keep in mind that Rome wasn’t built in a day. My advice is to try again. Maybe you used the wrong ingredient, took a wrong step, or missed something. Try again! This is not a new recipe and it works for many, so don’t give up, and try to figure out what went wrong for you.

First for the gelatin, you will need unflavored gelatin. Knox Brand is the most easily found in supermarkets. Great Lakes has another one that is Kosher. A bit more difficult to find but you can always try Amazon. As an added bonus, gelatin is a good source of collagen. Great for skin, nails and hair. If you can’t eat gelatin, you can try Agar-Agar as a thickening agent. For Agar-Agar you really don’t need water. Just dissolve it in milk and make sure that it’s mixed well and then strained to avoid lumps.

Usually you want to sprinkle the gelatin evenly over water. I don’t know about you guys, but somedays I am just not in the mood to take it slow and I just drop it too fast on the water. Unfortunately, if done improperly, it won’t soak evenly and you will get some lumps. These days I just take a fork and lightly move it to make sure it’s fully mixed. Once the gelatin blooms, it looks like hard jelly. If you want to be safe and properly melt the gelatin without burning it, you can cook it in a double boiler. Some people do it straight in a pan, but if you do this, you will need to cook it on low. You really don’t want to burn it. My favorite and fastest option is the microwave. I cook mine for 30 seconds. Just make sure that the gelatin is clear and fully melted. If you need to cook yours for a longer period, make sure to do it in 10 seconds increments. Once again you don’t want to burn the gelatin. Did I mention that enough? Lol
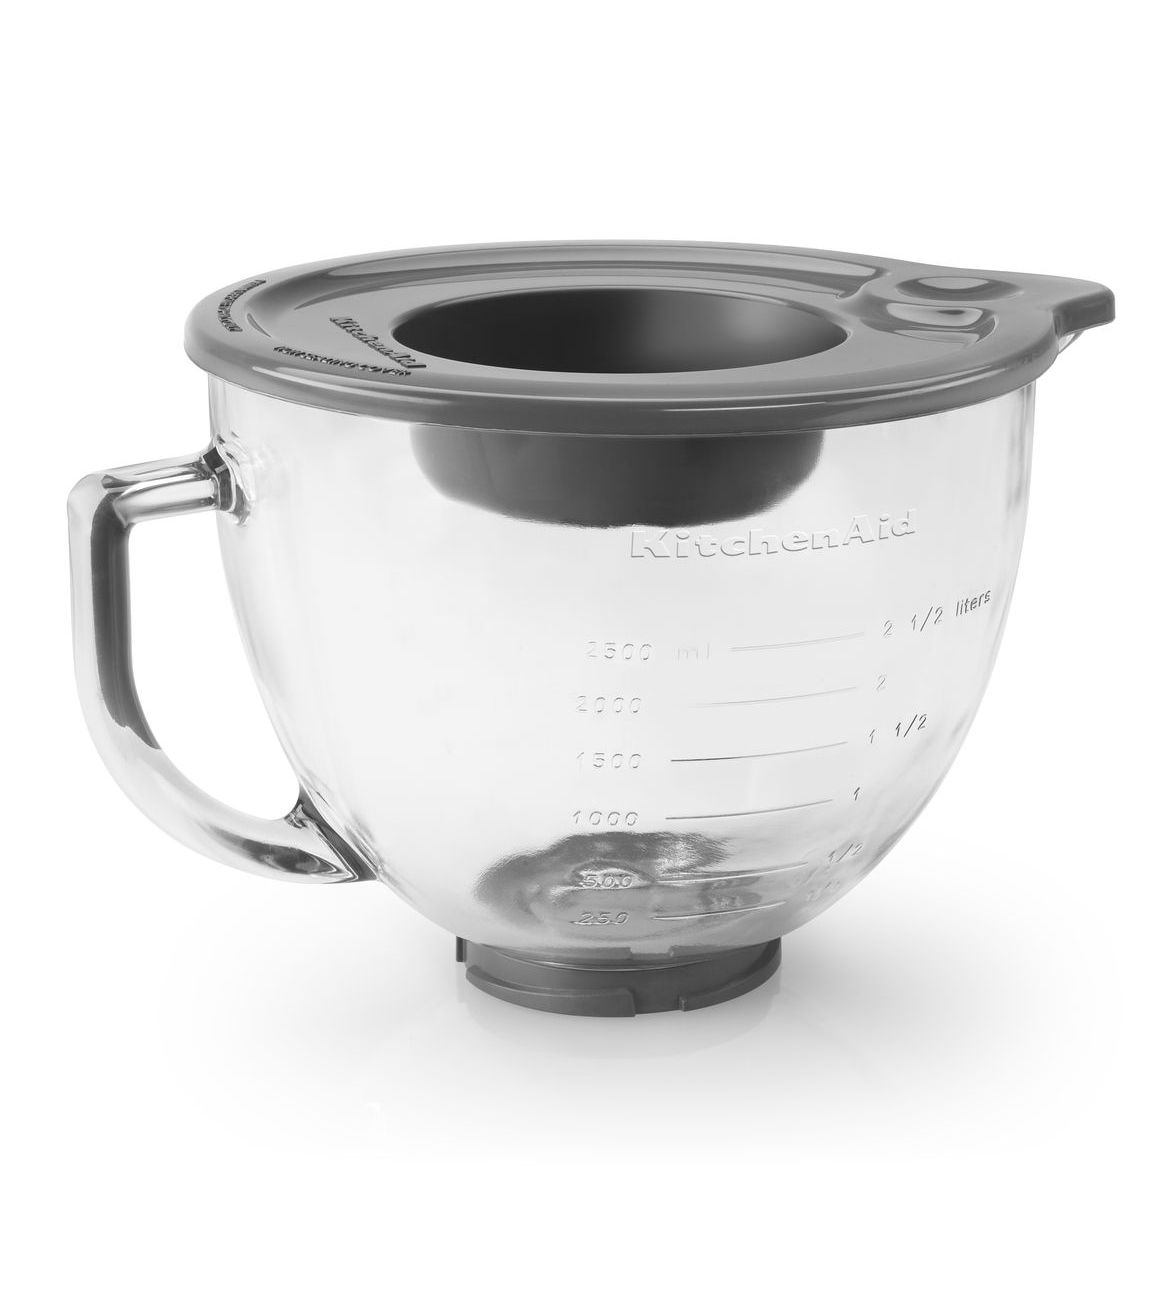
One of the biggest problems people encounter is adding the warm gelatin to the cold heavy cream. This is where you have to watch yourself. For making whipped cream, you need for your heavy cream to be as cold as you can. Usually it’s even preferred to chill the bowl as well as the whisk attachment. I usually don’t bother too much with that, but maybe in a hot environment it might be a good idea. When working with sugar it’s best to work in areas with air conditioner to avoid issues. If you add the warm gelatin to the cold heavy cream, guess what will happen??? It’ll start getting hard, because that’s what gelatin does when it gets cold; it hardens up. So you can’t let the gelatin cool down all the way because it will start solidifying and you can’t add it when is too hot to the heavy cream because it can get lumpy.

How do I solve this and make sure I don’t have a whipped cream full of lumps? I take some of the heavy cream and leave it at room temperature. Usually around a 1/4 cup will do.
Once I get the gelatin out of the microwave, I leave the gelatin alone and start whipping my cream. This will give the gelatin a few minutes to cool down some. Then once I get the whipped cream to the right consistency, I add the 1/4 cup of heavy cream I left at room temperature to the gelatin and combine that well. This is sure to bring the gelatin down enough so that when you add it to the cold cream, it won’t create lumps.
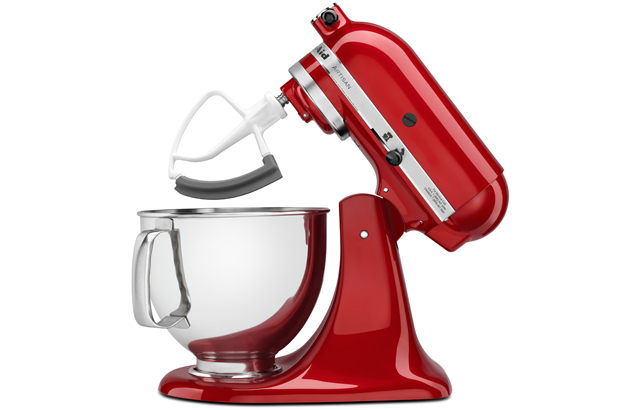
Another thing I do is to pass the gelatin/ heavy cream mixture through a sifter to ensure I don’t have any lumps in that mix. If you are using a stand mixer, you can slowly pour the gelatin on top of the whipped cream without stopping the mixer. If you have a hand held mixer, just make sure to sift the gelatin before you pour it because it’ll be more difficult to do, since we only have two arms. No matter what, if you watch the tutorial, you will see that I poured the gelatin/heavy cream mixture all at once. I was expecting this might create some lumps since I always use a stand mixer. I can honestly say that it didn’t have one tiny lump. All of it was super smooth. Still, I will advise to slowly pour the gelatin as you mix.
I want to clear up for those who are new to whipped cream, is that you should use a cream that has at least 35% fat in order to get the best results, especially if you want to use it for cakes. It’s confusing when you go to the stores and see all these bottles of cream and not be sure which one to use.

Here are some of the most basic ones but there are others I am not mentioning:
*Half-and-half= 15% fat. In the USA this means that it usually contains 1/2 whole milk and 1/2 cream. It’s not meant for it to be whipped, so save it for your coffee.
*Single Cream= 20% fat. This one has a low fat content. You can use in sweet and savory dishes but it won’t thicken when beaten.
*Light Cream= 18% to 30% fat. It can be used just as half and half and in the higher number of fat content it can be whipped lightly but is not stable. Some people also call this one Single Cream. The fat content will determine its uses, but it won’t ever work for cake.
*Whipping Cream= 30% to 35% Fat. This is where you have to watch for the fat. If it contains less than 30% fat, it will whip up lighter, fluffier and more airy. Great to use over pies and desserts, but the higher content of fat will mean stiffer peaks that are best for piping and covering a cake. So if you get whipping cream, make sure it’s at least 35% fat. Most whipping creams these days are pasteurized in order to extend their shelf life.
*Heavy Whipping Cream= 35% Fat I am adding this one on the list because it’s the one I use. I figure it’s a middle ground between whipping cream and heavy cream. The one I use has exactly 35% fat and works great! With that said, heavy cream is even better when it comes to stiff peaks.
*Heavy Cream= 36-38% Fat. You can also use this higher fat heavy cream for stabilized whipped cream. Higher content of fat will make the mix double in size and tends to hold stiff peaks strongly. This one is great to use for ice creams but it works great for soups and sauces as well without the risk of curdling.
Unpasteurized cream whips much easier than pasteurized. But these days you will find more of the ultra-pasteurized cream because it has a longer shelf life of 60 days before it’s opened.
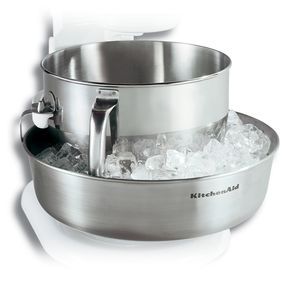
Pasteurization is a process where they bring the cream to a fast heat of 167 degrees for 15 seconds then cool it down really fast. The ultra-pasteurization process brings the milk to a 280 degree heat and even though it kills bad bacteria, it can take away some of the creaminess in the flavor of the cream. Because of the ultra-pasteurized being heated to 280 degrees, there’s a cooked taste to it and less flavor in comparison to the pasteurized. Also the pasteurized holds better peaks than the ultra but that’s where flavorings and stabilizers help if you find only ultra-pasteurized. When you start working, make sure that the cream is cold as you start and as you mix. If it’s not cold enough, it doesn’t “whip,” it “churns” and we’re not making butter. I suggest to put the bowl and the whisk in the fridge so they’re cold as you mix. If you are in a hot environment, you can place a bowl of ice below your mixing bowl to keep everything chilled. And again remember that if you over mix your whipped cream, you will end up with butter, so keep an eye on it.
This is all basic information that is always helpful, especially for those of you who aren’t used to working with these ingredients. Another important piece of information concerns the sugar. You need to use confectioners’ sugar for this recipe. If you use granulated sugar it will give you a grainy whipped cream. I tested the recipe using Swerve  Confectioners for a sugar free whipped cream and it worked really well. So for those of you who are on a keto diet or need to be on sugar-free diet, you can have your whipped cream guilt free! For those of you who don’t know what Swerve is, it’s a sugar replacement that doesn’t raise insulin levels. Usually you would use the same amount as you use for regular sugar. And if you want it sweeter, you can always add more sugar to the mix, no matter if you are using regular sugar or Swerve.
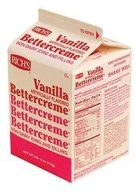
 Finally you have to decide on the flavoring. You can use any extract you want for this. I prefer the Clear Vanilla Extract to avoid getting the brown color on the whipped cream, but you can use your regular Vanilla if you prefer. You can also make it chocolatey by adding cocoa or melted chocolate. The sky is the limit with this recipe but the downside to it is that it needs to be kept in the fridge. So if you don’t like cold cake you will need to wait till my next tutorial so I can talk about other options for dairy free whipped cream substitutes.
But for now I think this is plenty of information for you guys. So click here for the full recipe and video tutorial on how to make Stabilized Whipped Cream.

Click here to go watch Tutorial and see full recipe.
I hope you guys enjoy the information. I know is a lot of it but is worth the knowledge.
Until next Blog, Ta ta!
Edna

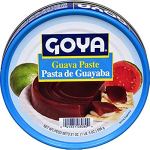
 I grew up with a Guava tree in the backyard of our house. It made me a guava lover. This is a very common filling in baking and it’s pretty easy to do. I have a hard time finding the fruit where I live now but I can find the guava paste easily in the Hispanic section of most supermarkets. It’s also easily found in the internet. I will post some links below.